In the event you’re touring this summer time, there’s a neat modifying trick to get spectacular pictures of landmarks or murals. On the iPhone, you may crop, skew and rotate a photograph utilizing the Images app’s superior modifying instruments to make changes you won’t have thought had been doable.
You possibly can rapidly repair the attitude or angle an image was taken from, right the fisheye distortion on an ultra-wide picture and extra. You can too exactly rotate and skew the attitude, for these instances once you don’t notice till it’s too late that your shot is barely to the facet or barely off-center.
The perfect half is you may can repair all of it instantly within the Images app. Right here’s how.
How one can skew, modify perspective, rotate and crop a photograph on iPhone
Within the age of iPhone images, capturing the proper shot usually requires greater than merely urgent the shutter button. Whether or not it’s straightening a tilted horizon, cropping out distractions or adjusting the shot’s perspective to middle your topic, these delicate edits can remodel picture into an awesome one.
With the iPhone’s built-in Images app, customers can make the most of a sturdy set of intuitive modifying instruments that make refining photographs and movies a really easy endeavor. In truth, the app that began as a easy approach to take a look at your digital camera roll is now a completely featured picture editor.
This information explains precisely how cropping, rotating and correcting perspective of photographs works on iPhone, with step-by-step directions.
Desk of contents: How one can skew, modify perspective, rotate and crop a photograph on iPhone
Shift the attitude
I attempt to take footage of work on partitions or meals laid out on a desk straight-on, however it’s not straightforward getting it good. Fortunately, you may modify the attitude of a picture after the very fact.

Screenshot: D. Griffin Jones/Cult of Mac
Think about this picture of a mural in a good hallway. I didn’t have room to get a sq. shot of it. Tapping the horizontal modify button, I can use the slider to alter the attitude of the picture as if I had been standing instantly in entrance of it.

Screenshot: D. Griffin Jones/Cult of Mac
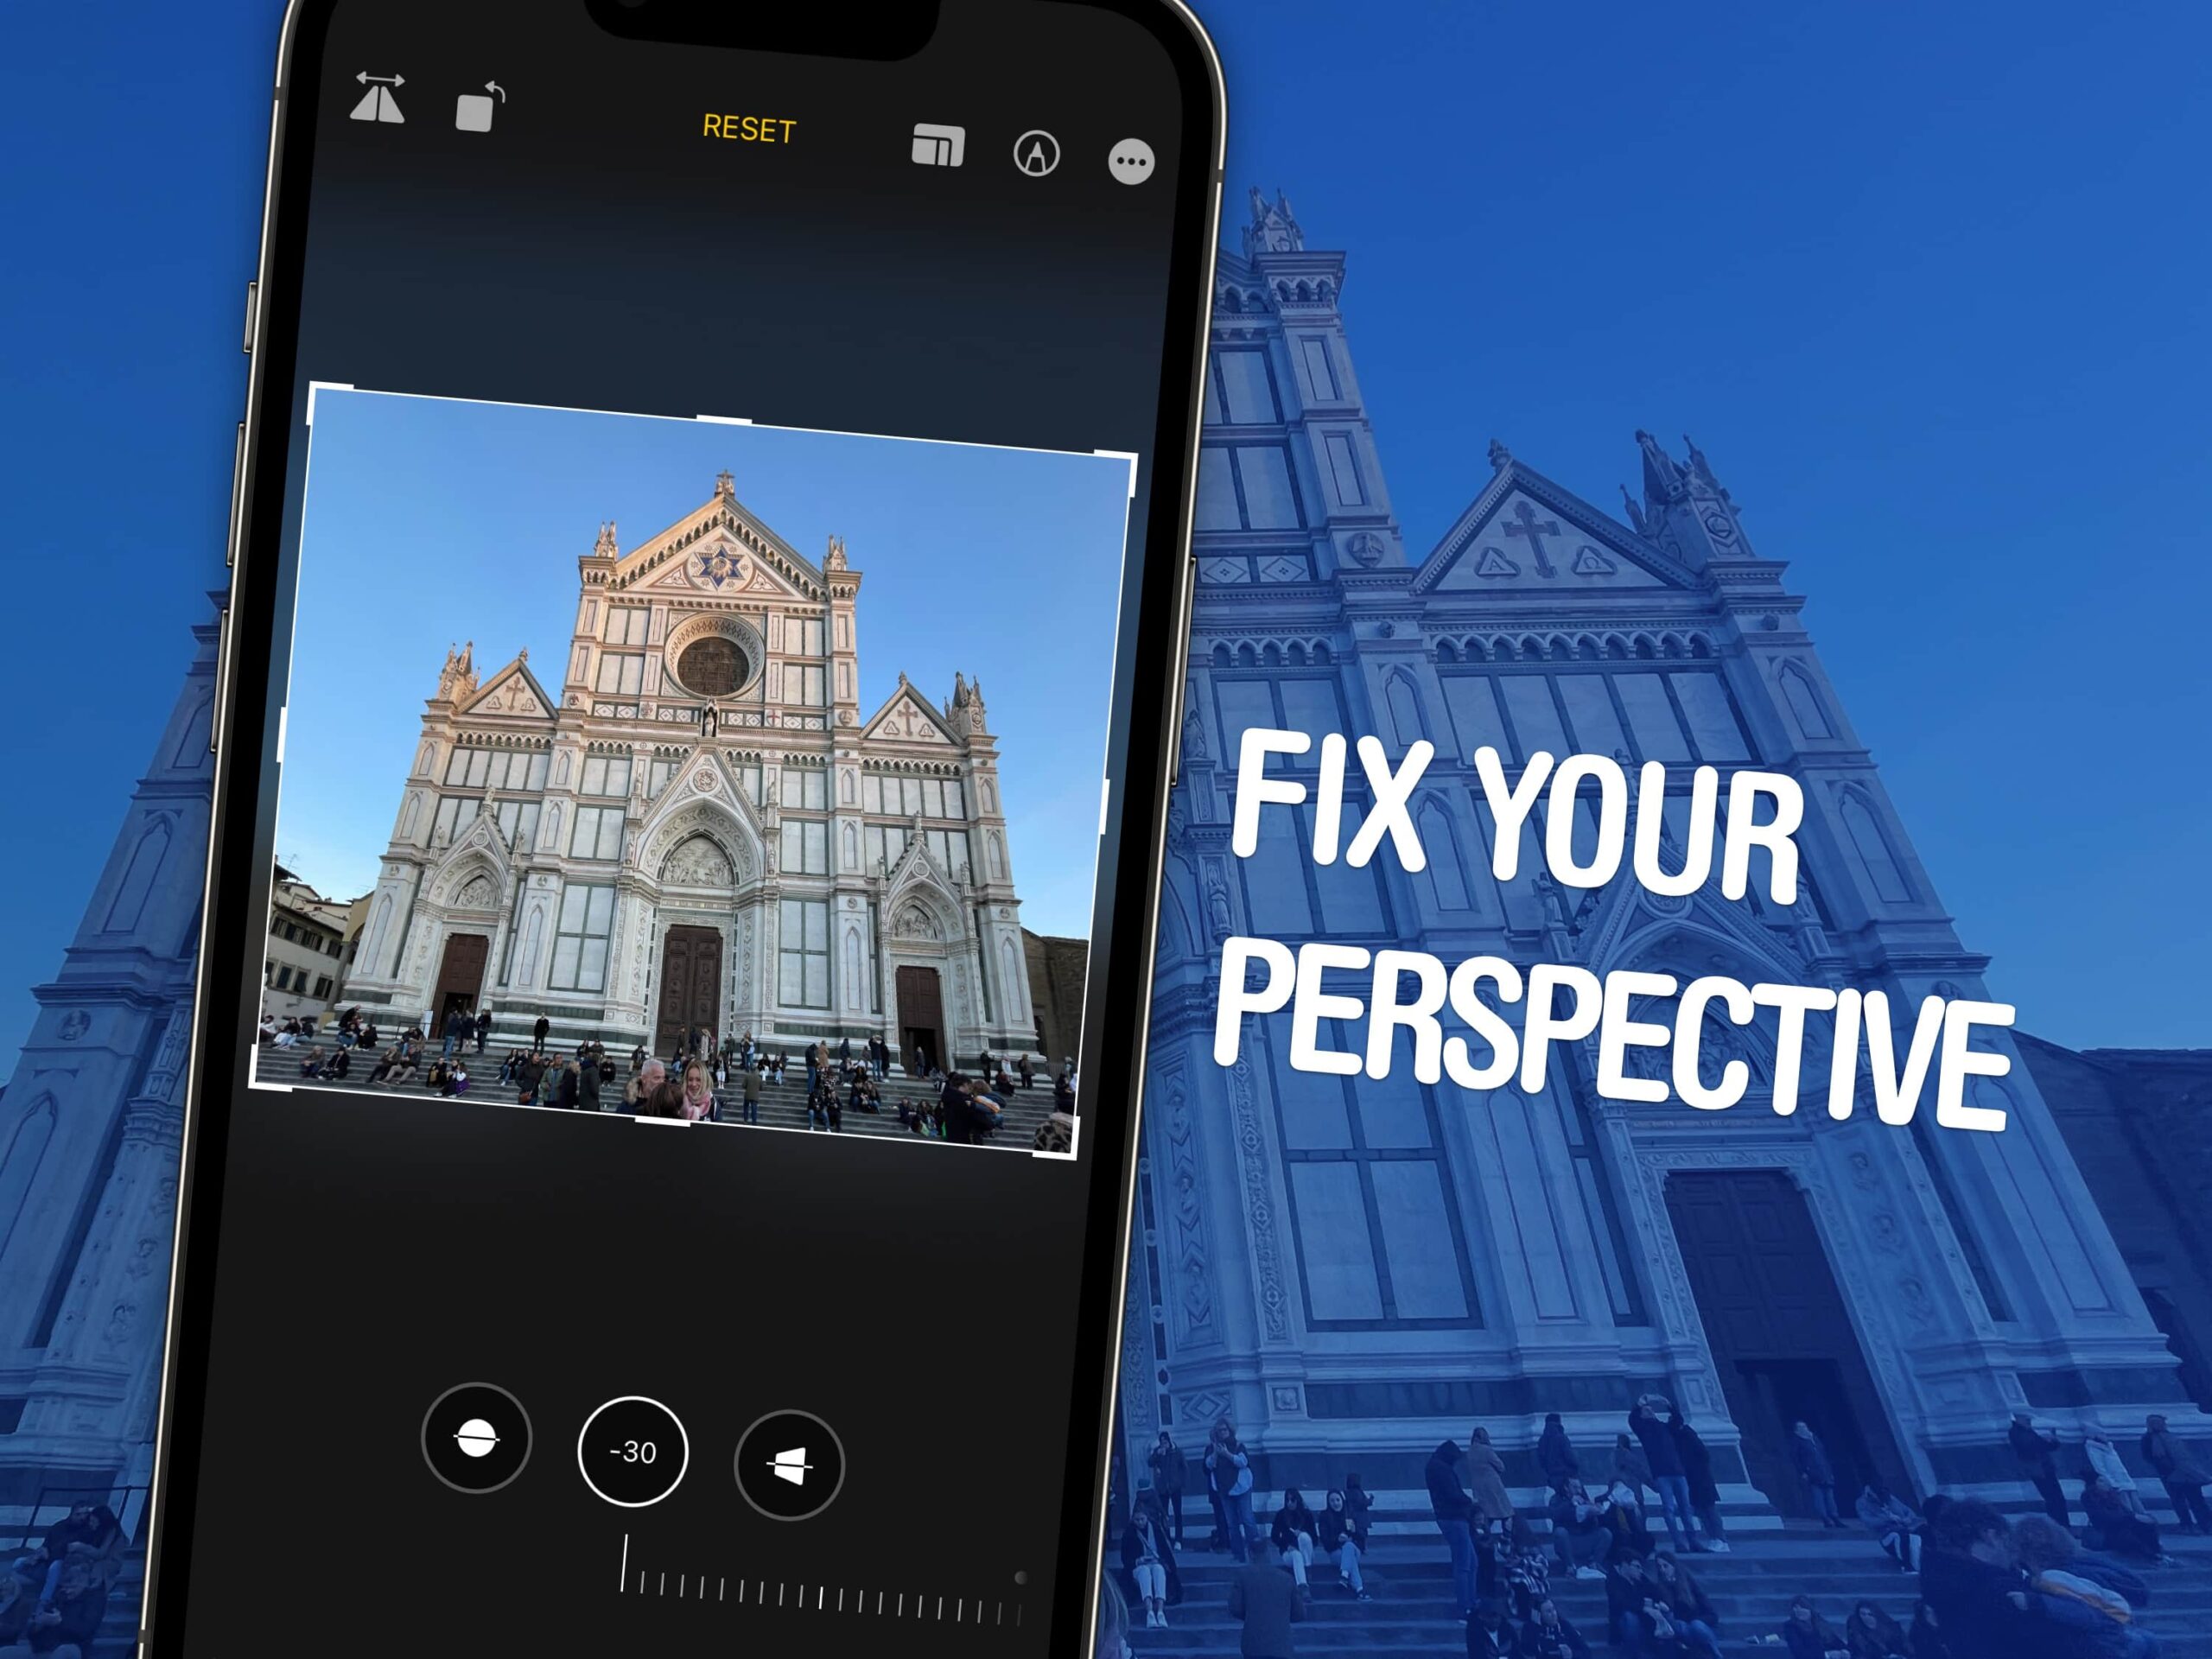
The vertical modify can work wonders on tall buildings shot from the bottom. Take this picture of the Duomo di Firenze, shot with the 0.5× lens. Utilizing the utmost quantity of correction on the picture reduces a lot of the fish-eye distortion.
There wasn’t sufficient room within the plaza to seize the entire constructing with the 1× lens, however with the attitude modify, it appears to be like good.

Screenshot: D. Griffin Jones/Cult of Mac
As one final instance, you may mix all three instruments — rotate, horizontal and vertical modify — to repair footage like these. In a giant crowded room in a museum, you may hardly ever get an awesome shot. The picture on the left is the most effective I might do, holding my cellphone approach above my head.
However with some cautious modifying, the picture on the proper appears to be like like I had all day to arrange a tripod completely centered in entrance of the picture. And since I shot it in ProRAW, it’s fairly good decision even in any case these edits.
Rotate footage on iPhone

Screenshot: D. Griffin Jones/Cult of Mac
Faucet Edit and faucet the Crop device within the backside proper. Faucet the Rotate button within the top-left — that’ll spin it by a full 90°.

Screenshot: D. Griffin Jones/Cult of Mac
In the event you solely need to right it slightly bit, slide your finger alongside the extent on the backside. It’ll each rotate the picture and crop it inwards, so the corners will nonetheless look good.
Faucet Performed to avoid wasting your adjustments.
Crop the iPhone picture to preset facet ratios
In the event you simply must crop in a picture, you don’t want to the touch any of the superior instruments — simply seize the sting of the picture and drag it inwards, or pinch to zoom in on the picture.

Screenshot: D. Griffin Jones/Cult of Mac
Nonetheless, if it is advisable make the picture completely sq., or crop it to 16:9 or every other preset, faucet the facet ratio button within the high proper. Swap between vertical and horizontal, scroll by way of the checklist of presets and decide one. The Wallpaper preset will ensure that it’s the right facet ratio in your Lock Display screen / Residence Display screen, it doesn’t matter what iPhone you could have.
A bunch of helpful instruments in your photographs
The Images app is filled with tips and hidden options:
We initially revealed this text on how one can crop an iPhone picture on Could 22, 2023. We up to date it on June 4, 2025.